Spin Up a Virtual Machine
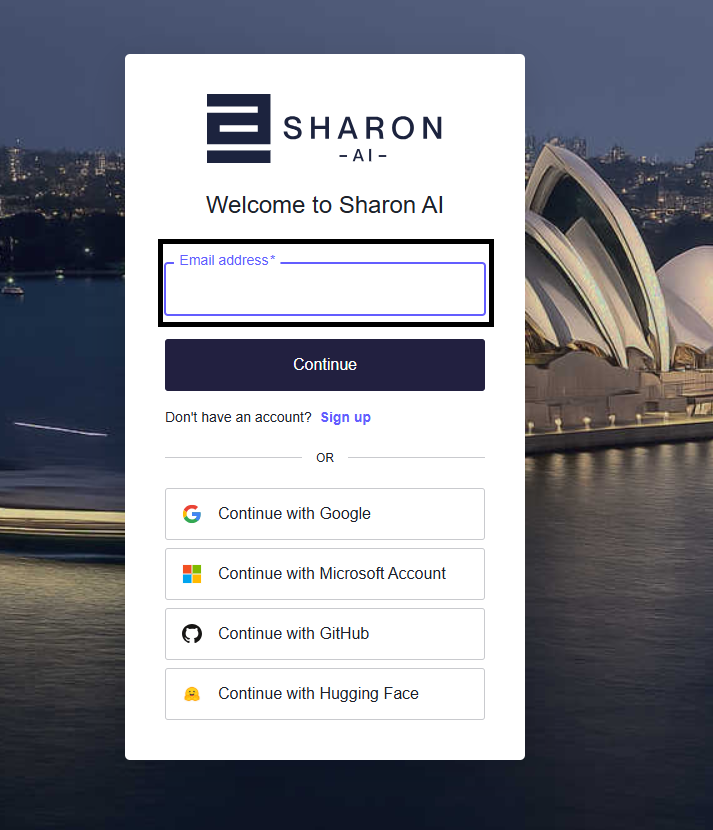
Step 1: Sign in to the Portal
Enter your email address or use one of the supported identity providers to sign in.
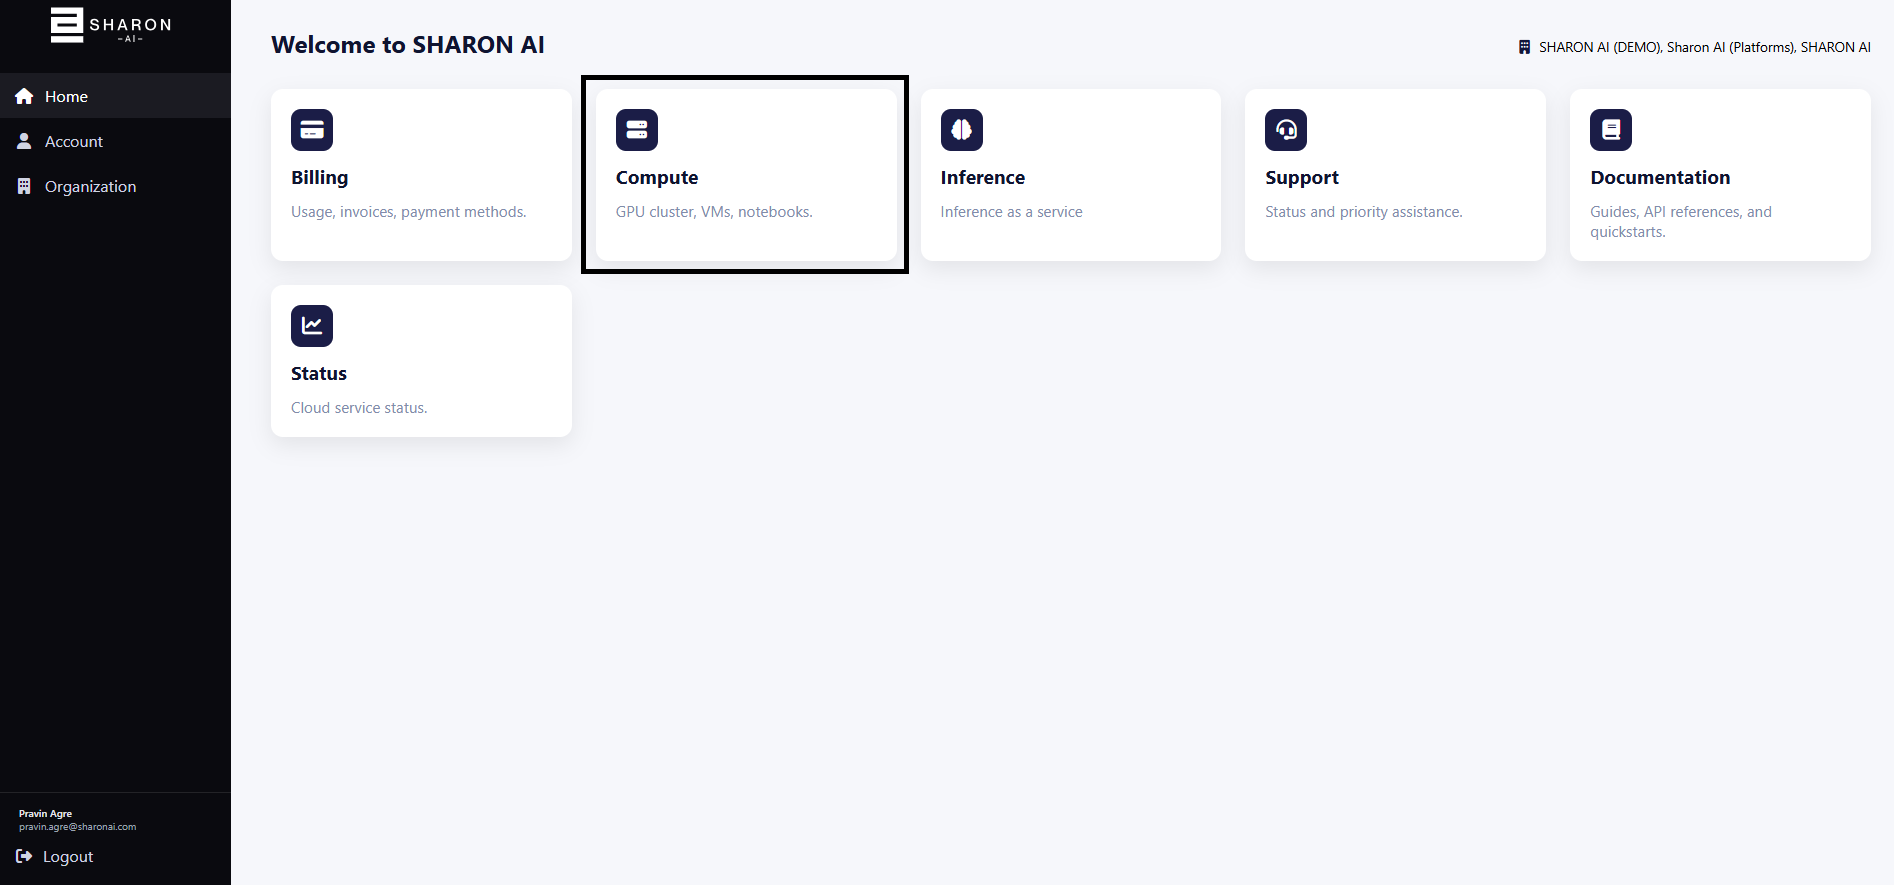
Step 2: Open Developer Hub
After sign-in, you land on the main portal. From there, open the services launcher and choose Developer Hub or navigate via Compute card.
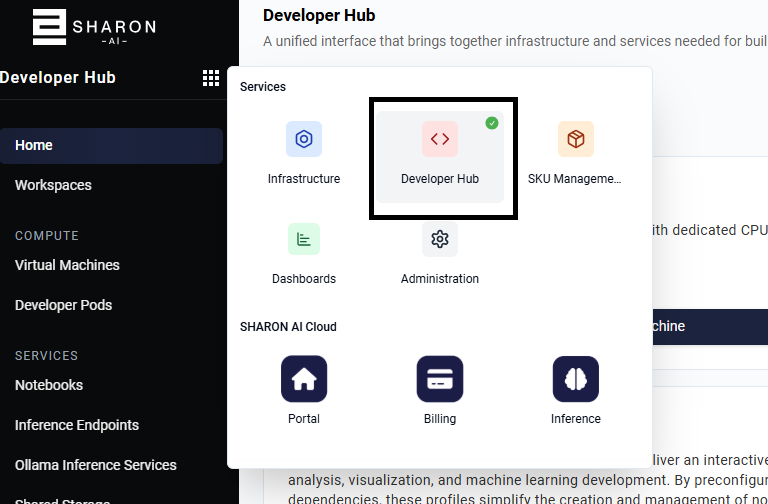
Step 3: Start a New Virtual Machine
Inside Developer Hub, use the Virtual Machines card to start the VM creation workflow.
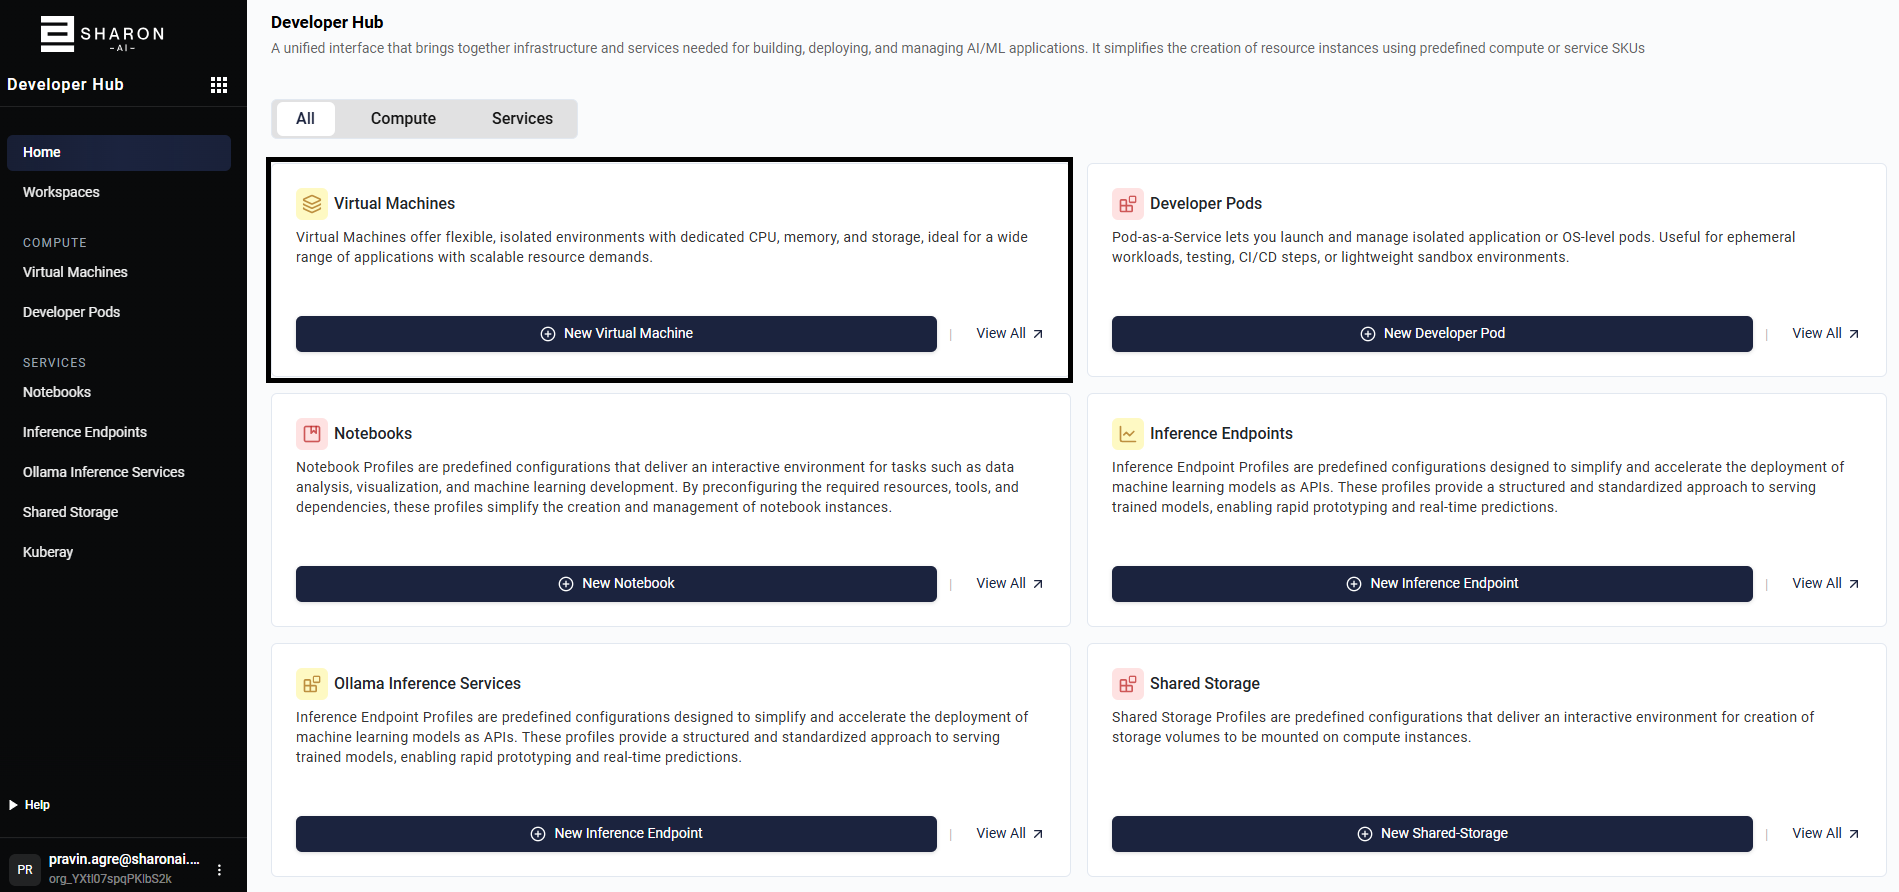
If you are already on the Virtual Machines list page, use New Virtual Machine in the upper-right corner.

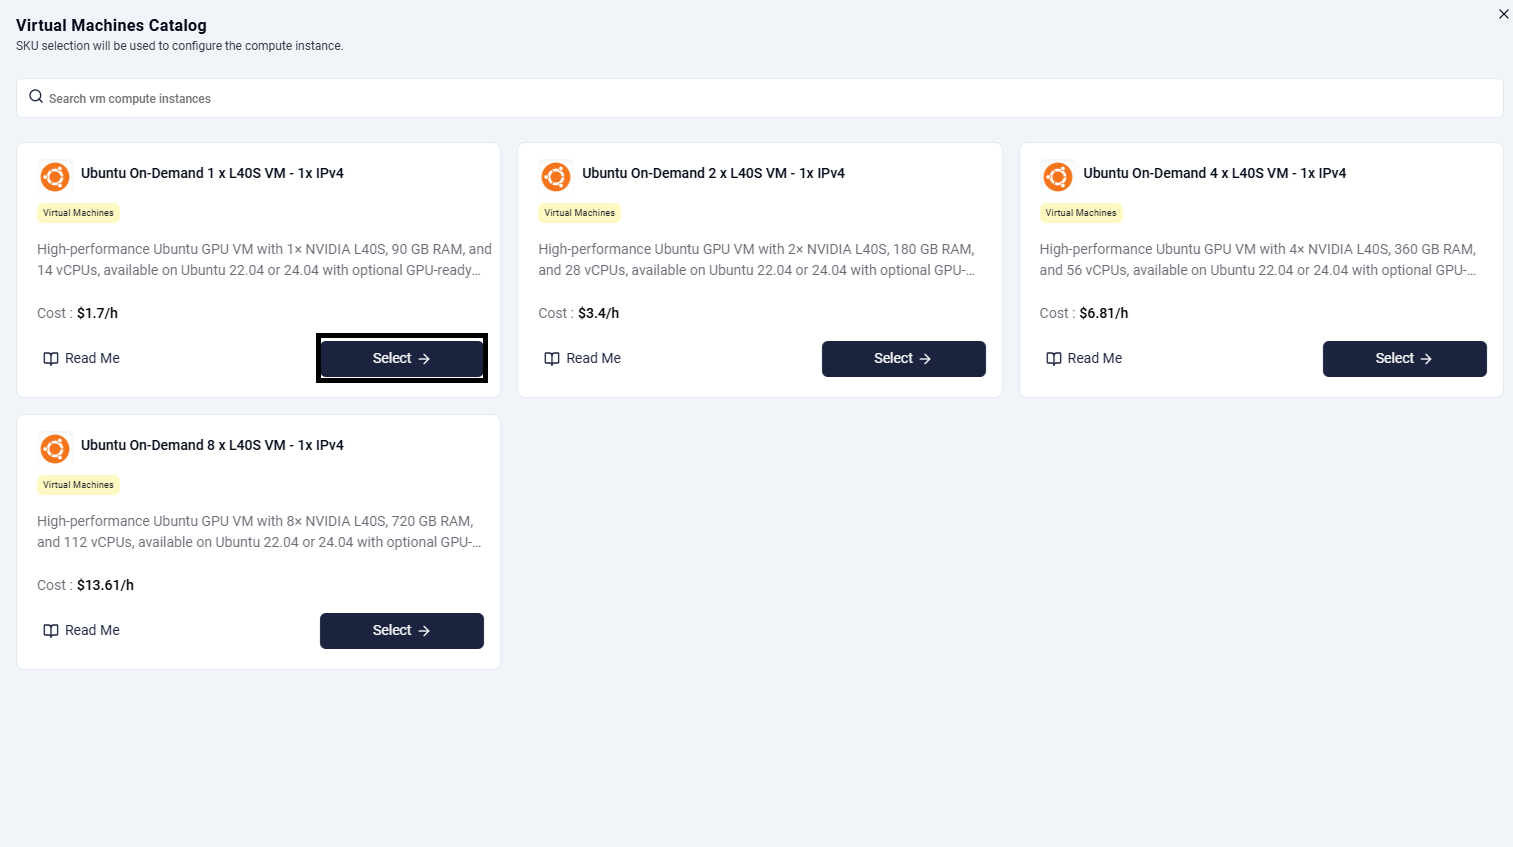
Step 4: Select a VM SKU
Choose the VM profile that matches your workload requirement. In this example, the flow uses the Ubuntu On-Demand 1 x L40S VM - 1x IPv4 option.
Step 5: Enter Basic VM Details
Complete the required fields:
- Name: Friendly name for the VM.
- Description: Optional description for the deployment.
- Compute SKU: Preselected from the catalog step.
- Workspace: Target workspace where the VM will be created.

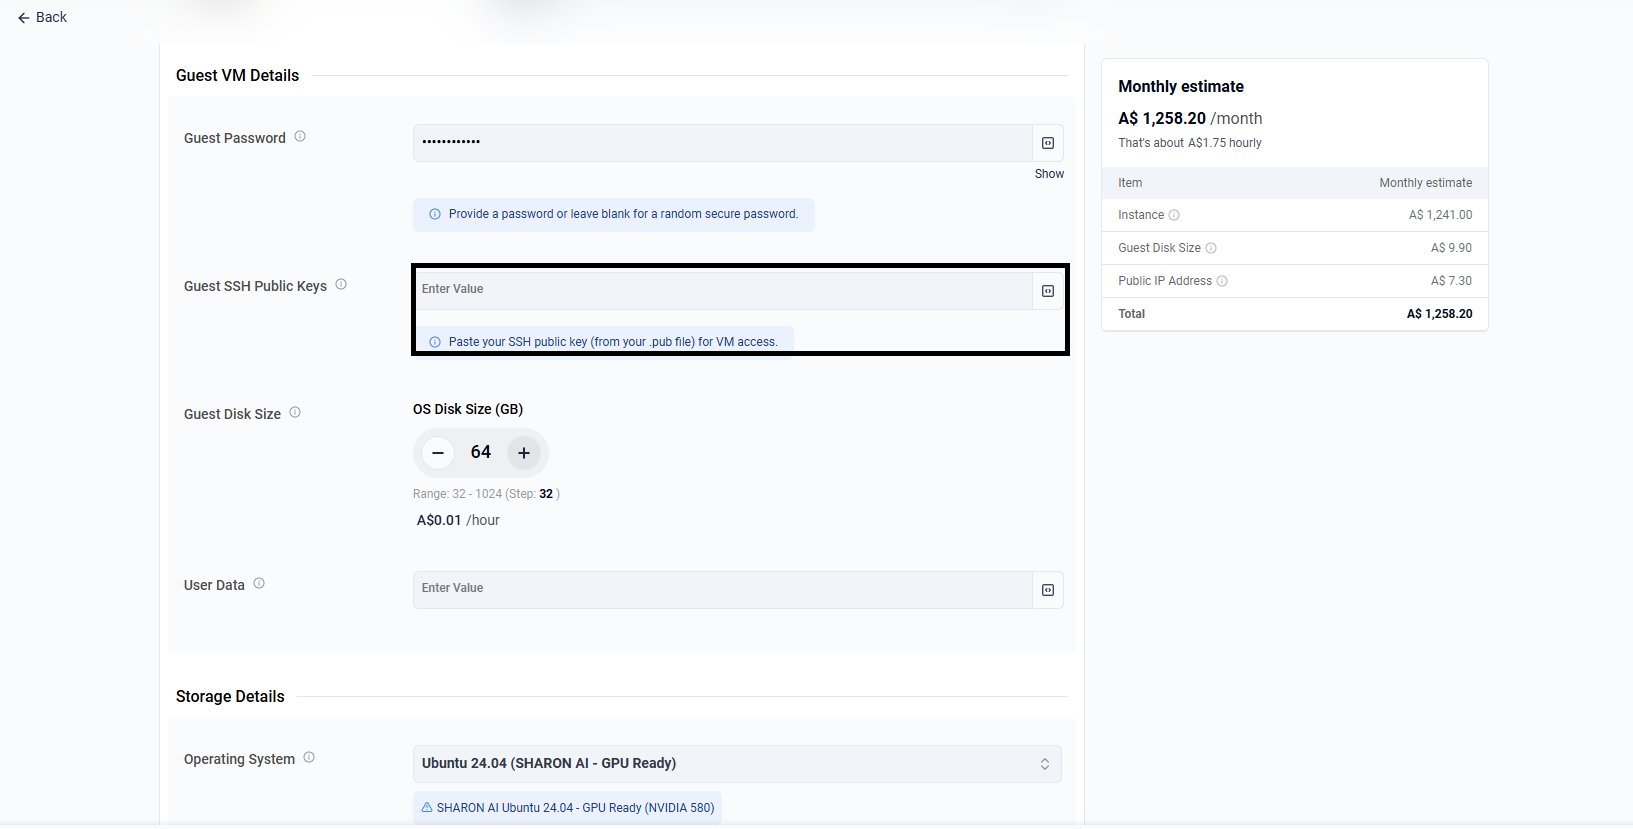
Step 6: Configure Guest Access and Disk
Set the guest operating system access options and initial disk allocation.
- Guest Password: Optional. If left empty, the platform can generate a secure password.
- Guest SSH Public Keys: Recommended for Linux-based access.
- Guest Disk Size: Adjust the OS disk size to meet the workload requirement.
- User Data: Optional cloud-init or bootstrap data.
Step 7: Select the Operating System Image
Choose the operating system image for the VM. The screenshot shows GPU-ready Ubuntu images as well as standard Ubuntu variants.
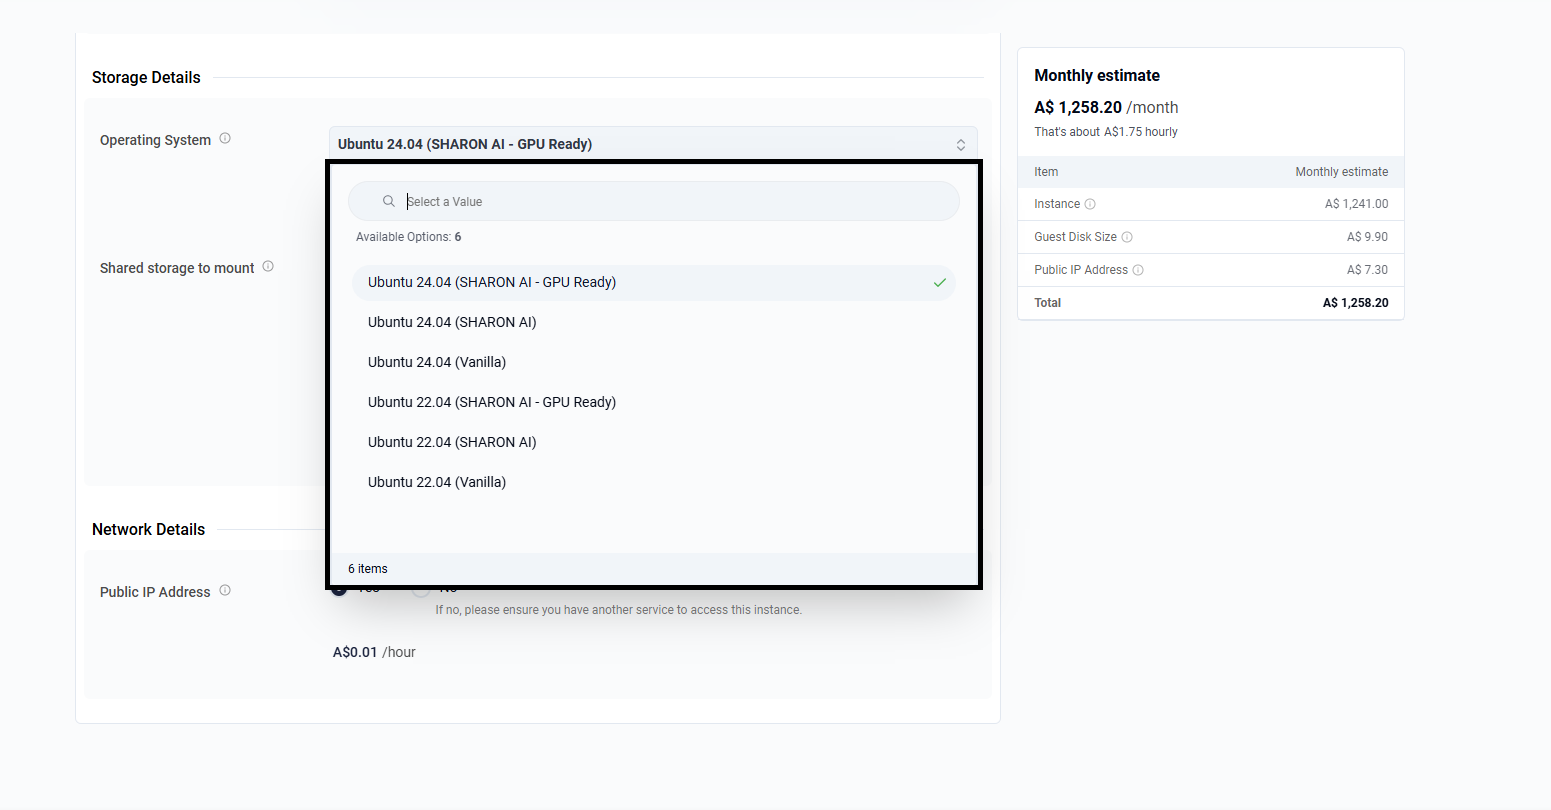
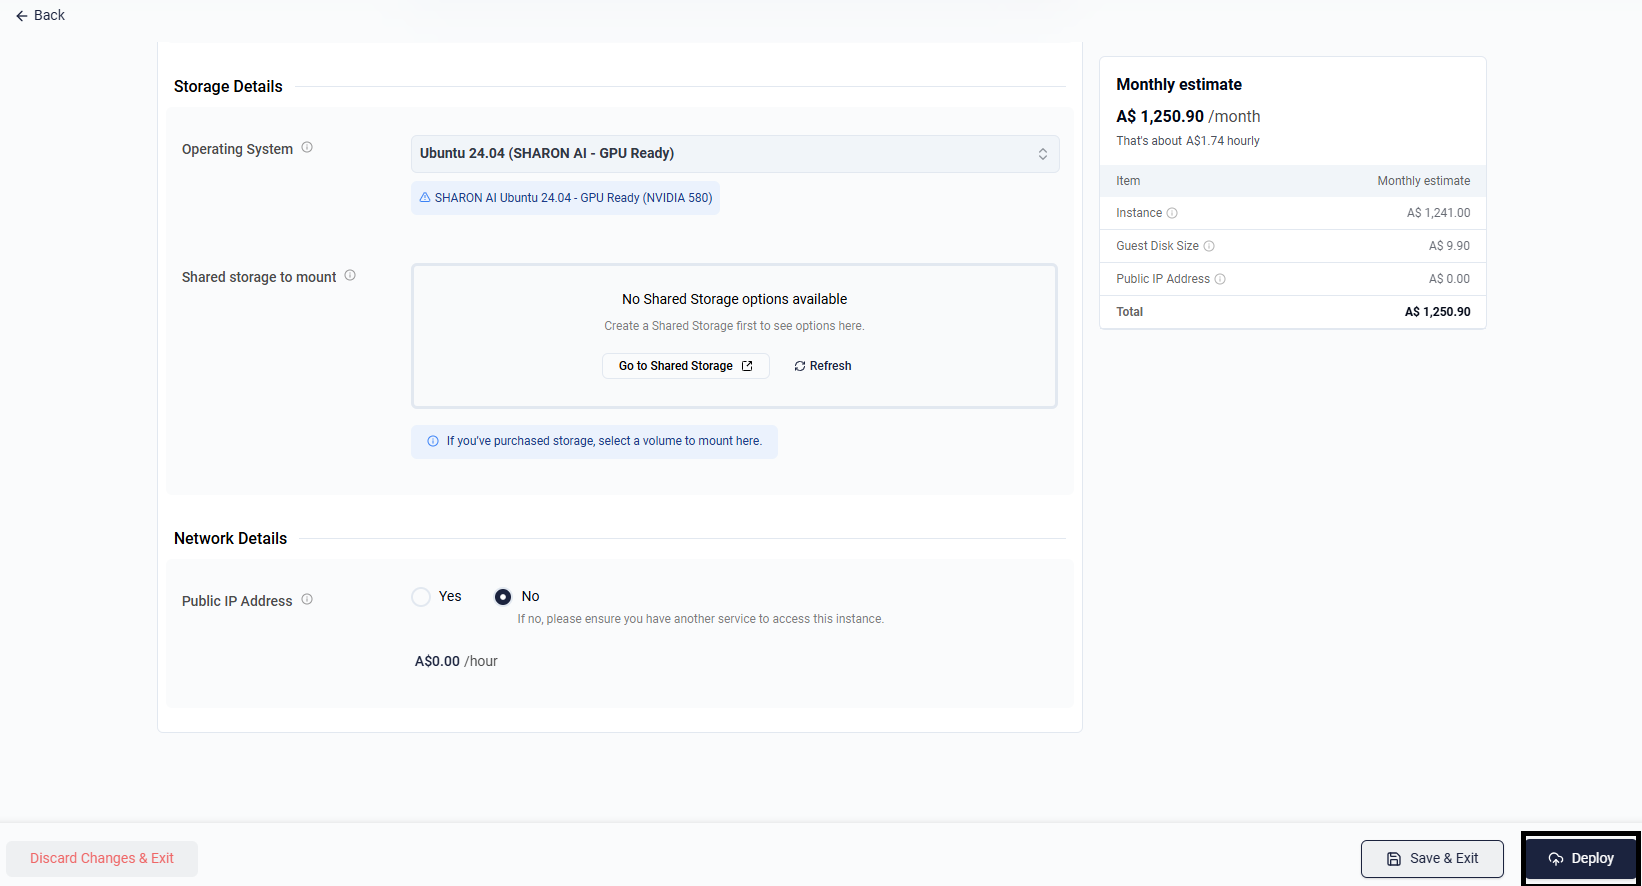
Step 8: Review Storage, Networking, and Deploy
Review the remaining options before deployment:
- Shared storage to mount: Optional. If no storage exists yet, this can be skipped.
- Public IP Address: Enable or disable based on whether direct external access is required.
- Monthly estimate: Use the pricing summary on the right-hand side to review expected cost before deployment.
When the configuration looks correct, select Deploy.
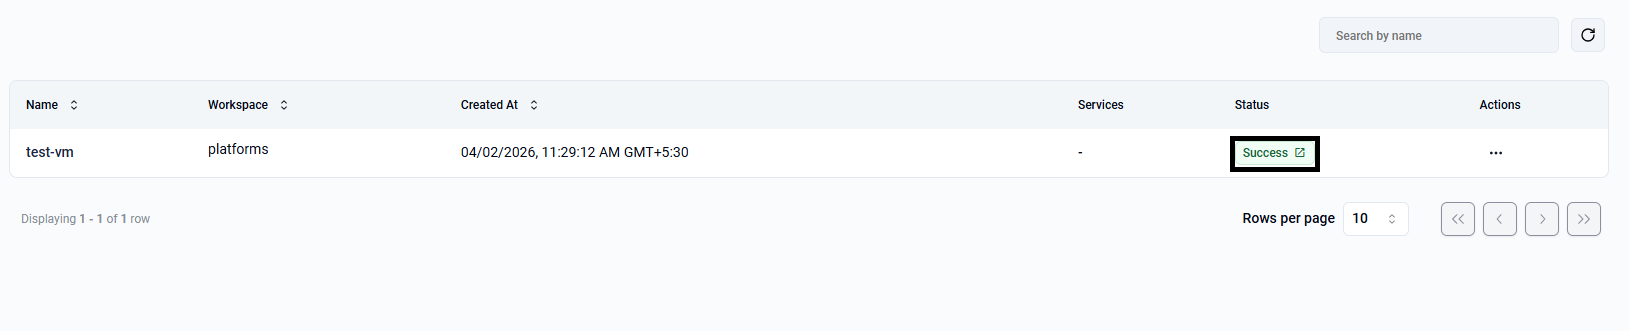
Step 9: Confirm the VM Object Has Been Created
After submitting the form, the VM appears in the Virtual Machines list. Depending on the workflow stage, it may initially show as Not Deployed.

Step 10: Trigger Deployment and Track Progress
Open the VM details page to review the instance overview and deployment status. If the VM is waiting for deployment, use the Deploy action.
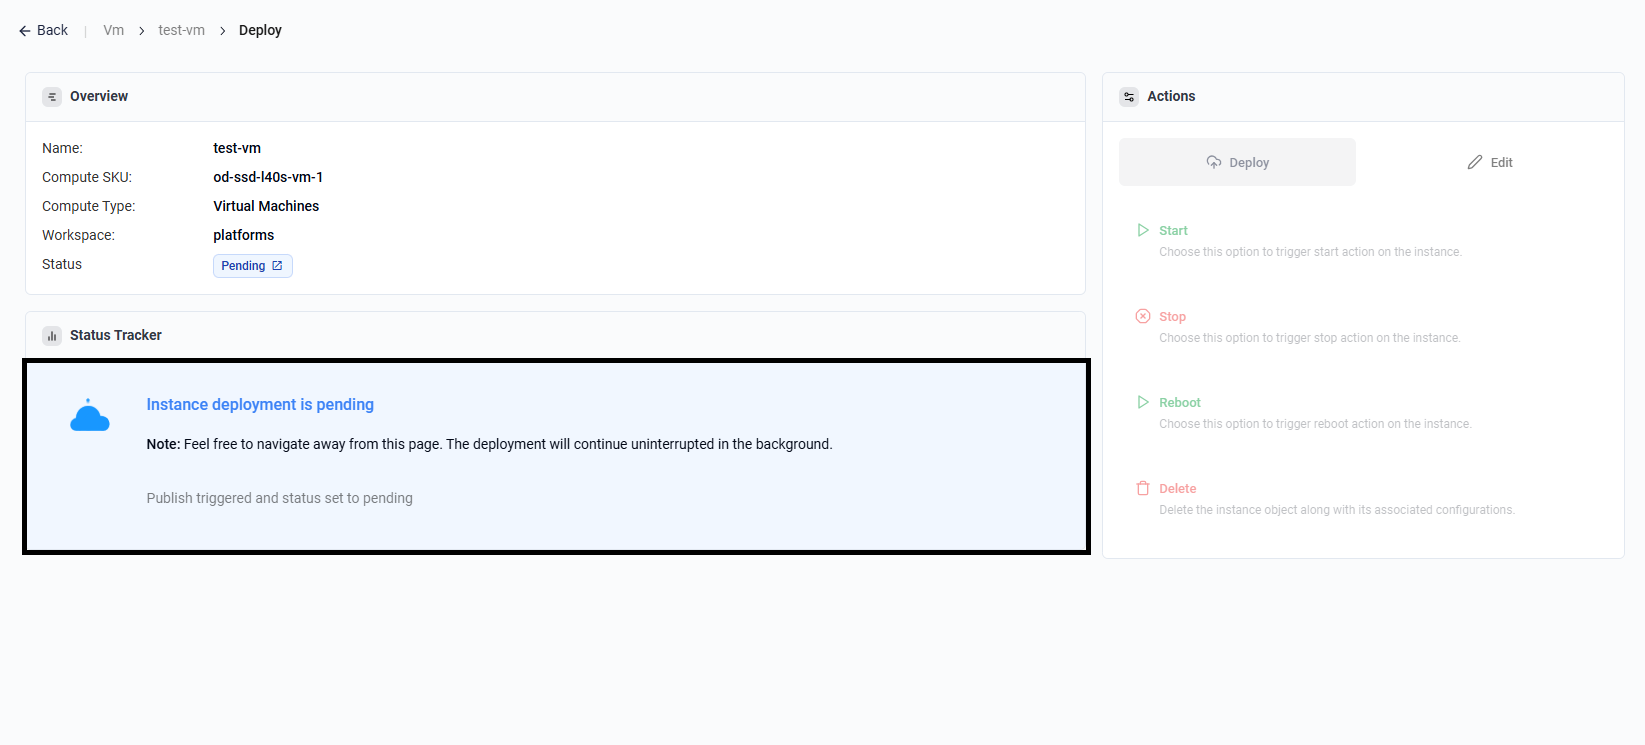
During provisioning, the status moves to In Progress.

When provisioning completes, the VM status changes to Success.
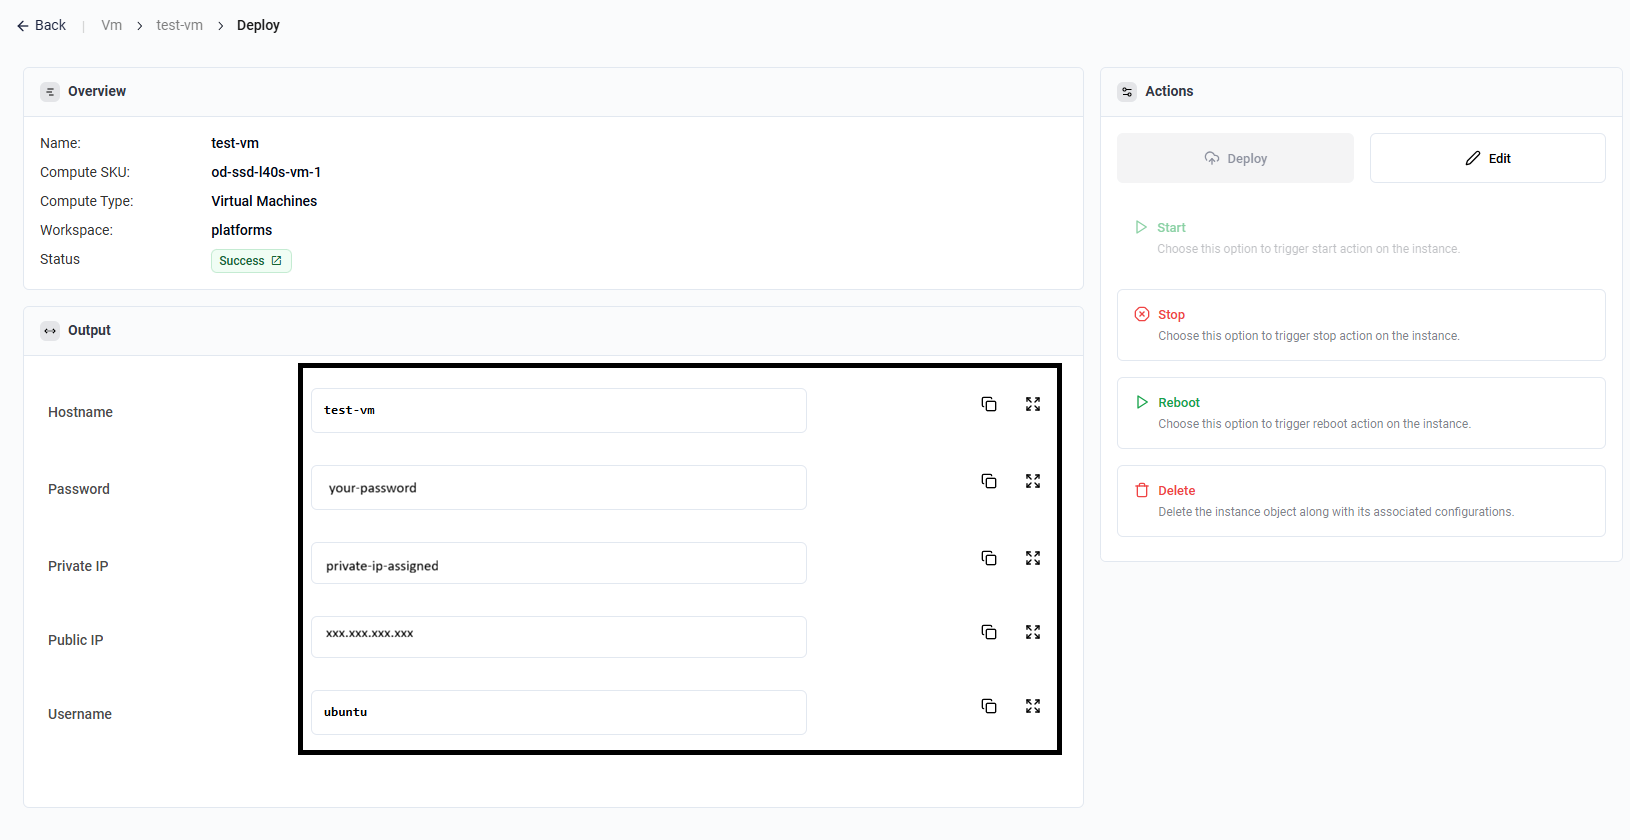
Step 11: Review VM Output Details
After the VM reaches Success, open the instance details page to collect connection information from the Output section.
- Hostname
- Password
- Private IP
- Public IP (if enabled)
- Username
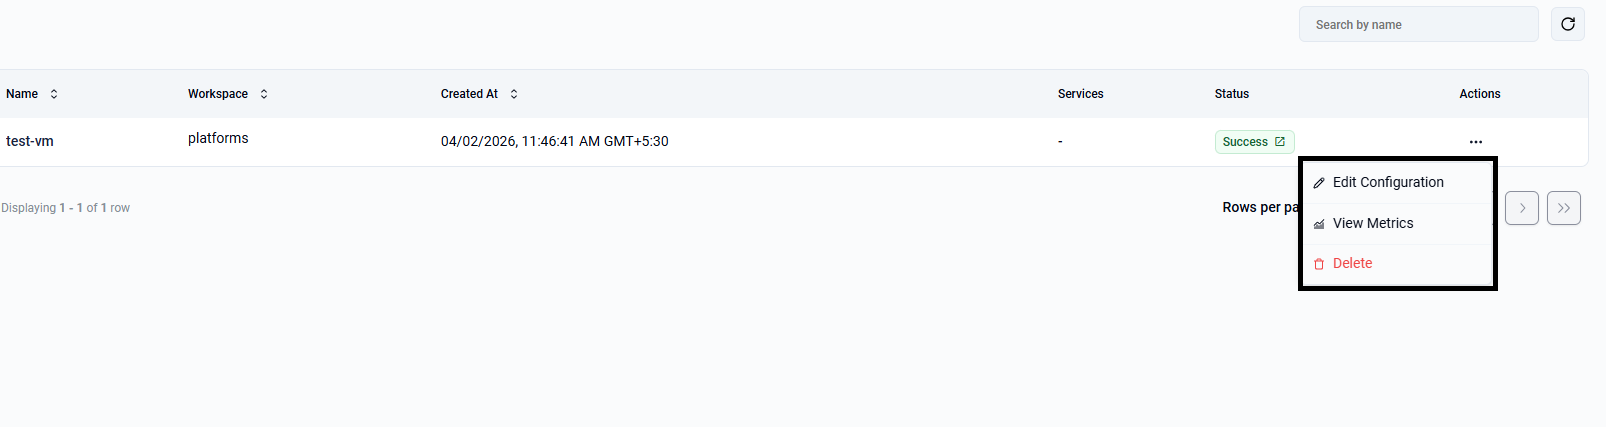
Step 12: Open Instance Actions and Select Delete
From the Virtual Machines list, open the actions menu for the instance and choose Delete.
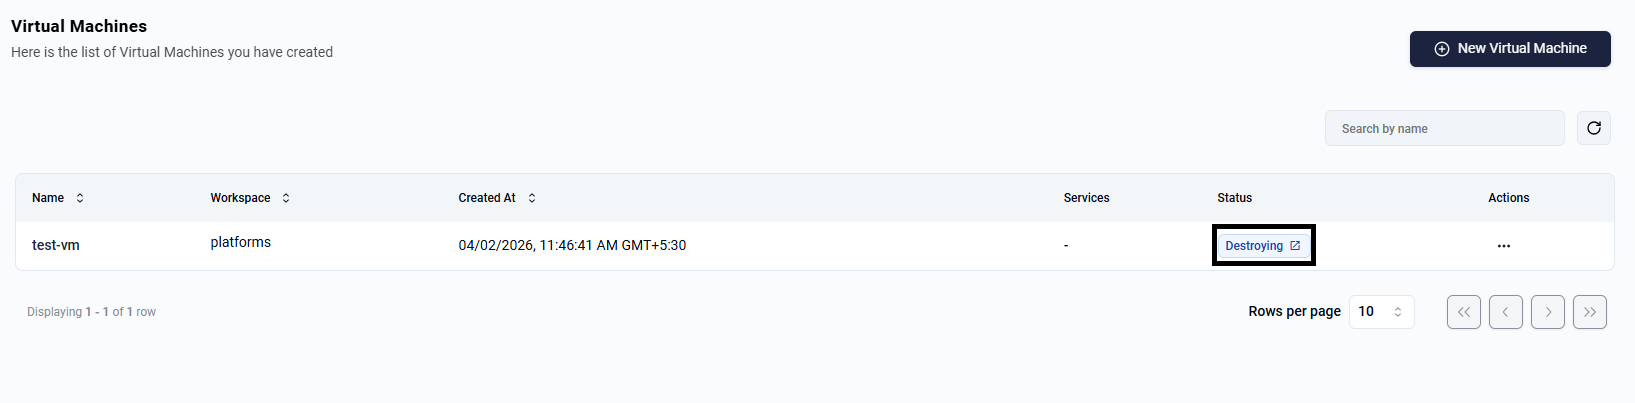
Step 13: Confirm VM Deletion
Type the exact instance name in the confirmation dialog and select Delete vm.
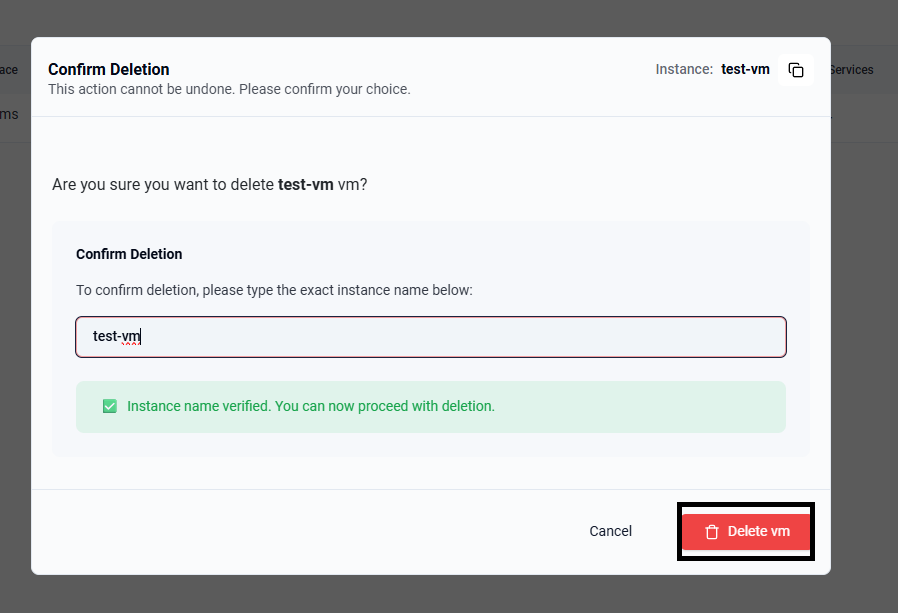
After confirmation, the VM status changes to Destroying while deletion is in progress.