Spin Up a Developer Pod
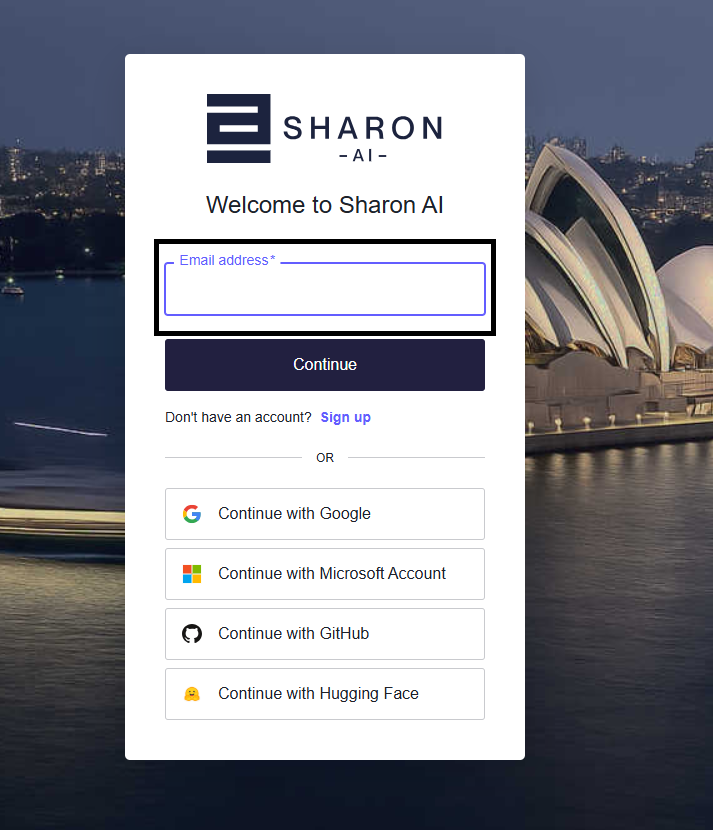
Step 1: Sign in to the Portal
Enter your email address or use one of the supported identity providers to sign in.
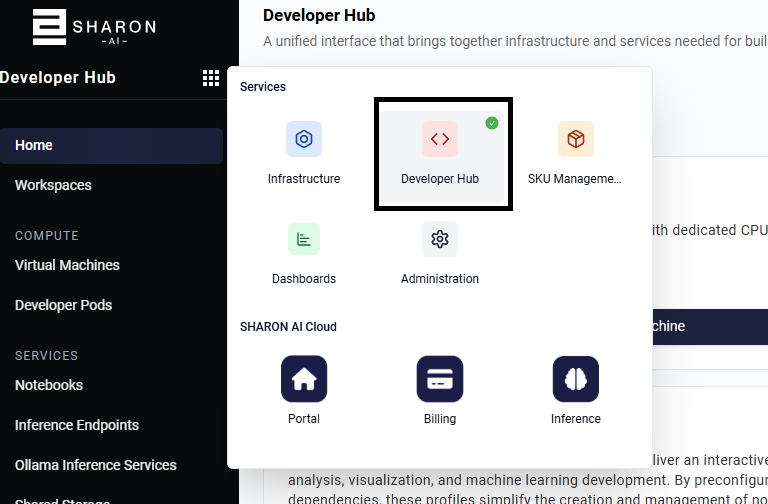
Step 2: Open Developer Hub
After sign-in, you land on the main portal. From there, open the services launcher and choose Developer Hub or navigate via the Compute card.

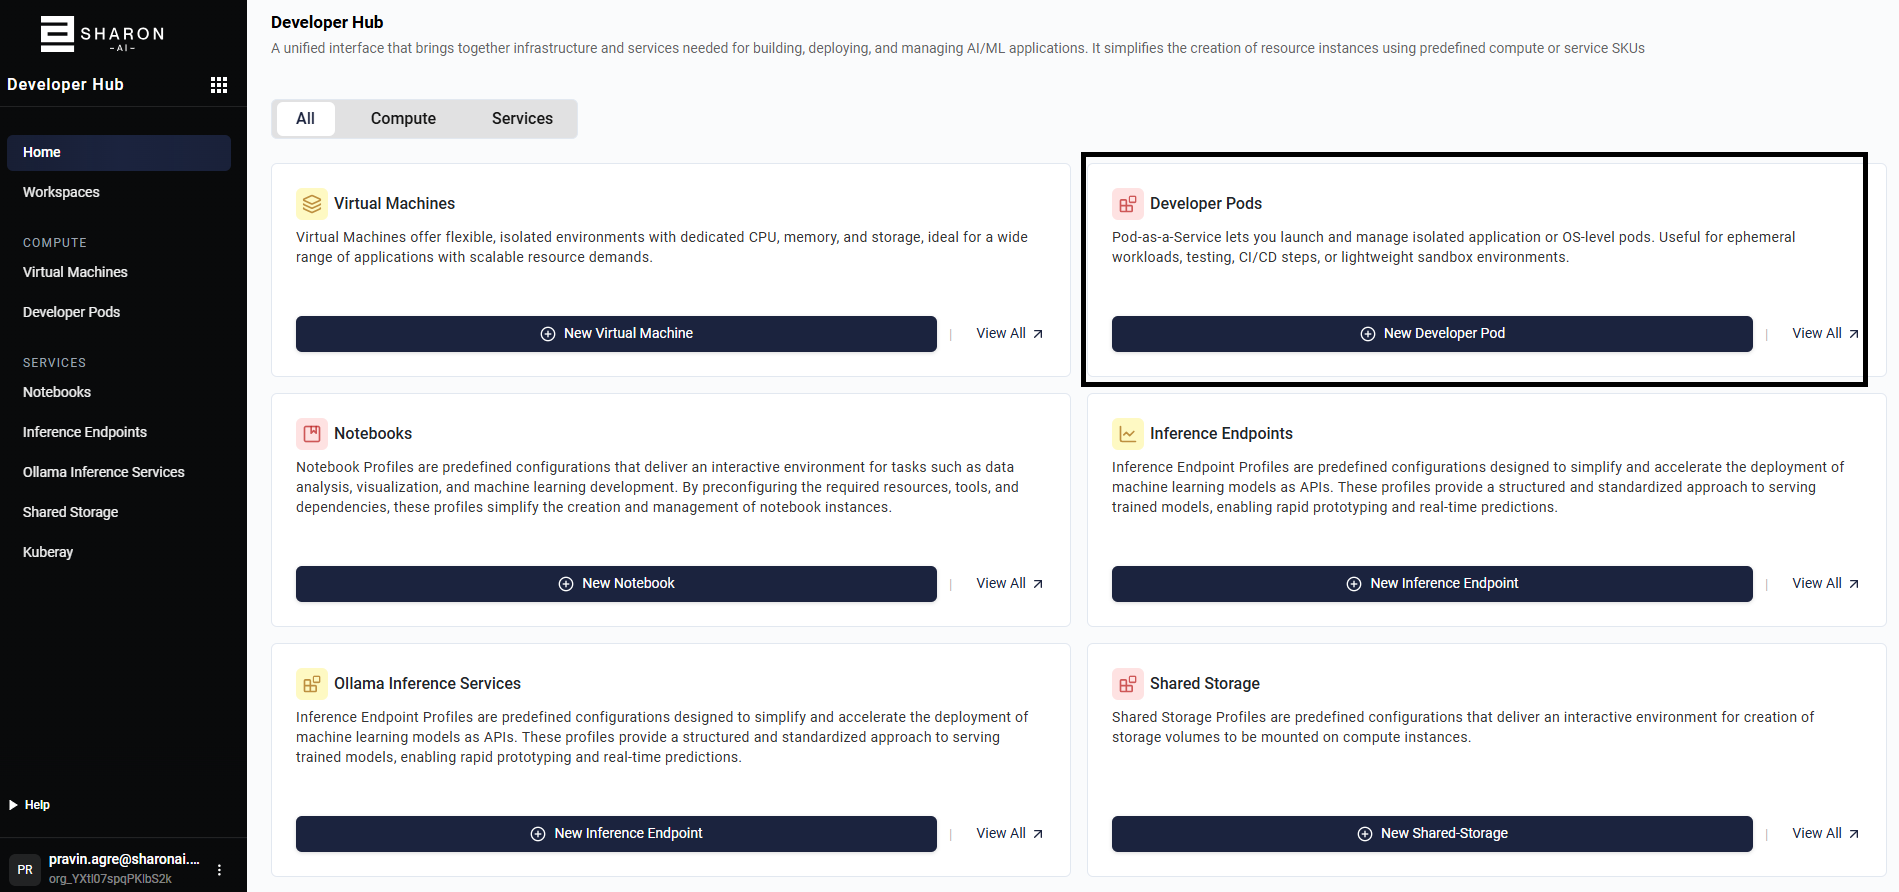
Step 3: Start a New Developer Pod
Inside Developer Hub, use the Developer Pods card to start the pod creation workflow. Select New Developer Pod to open the catalog.
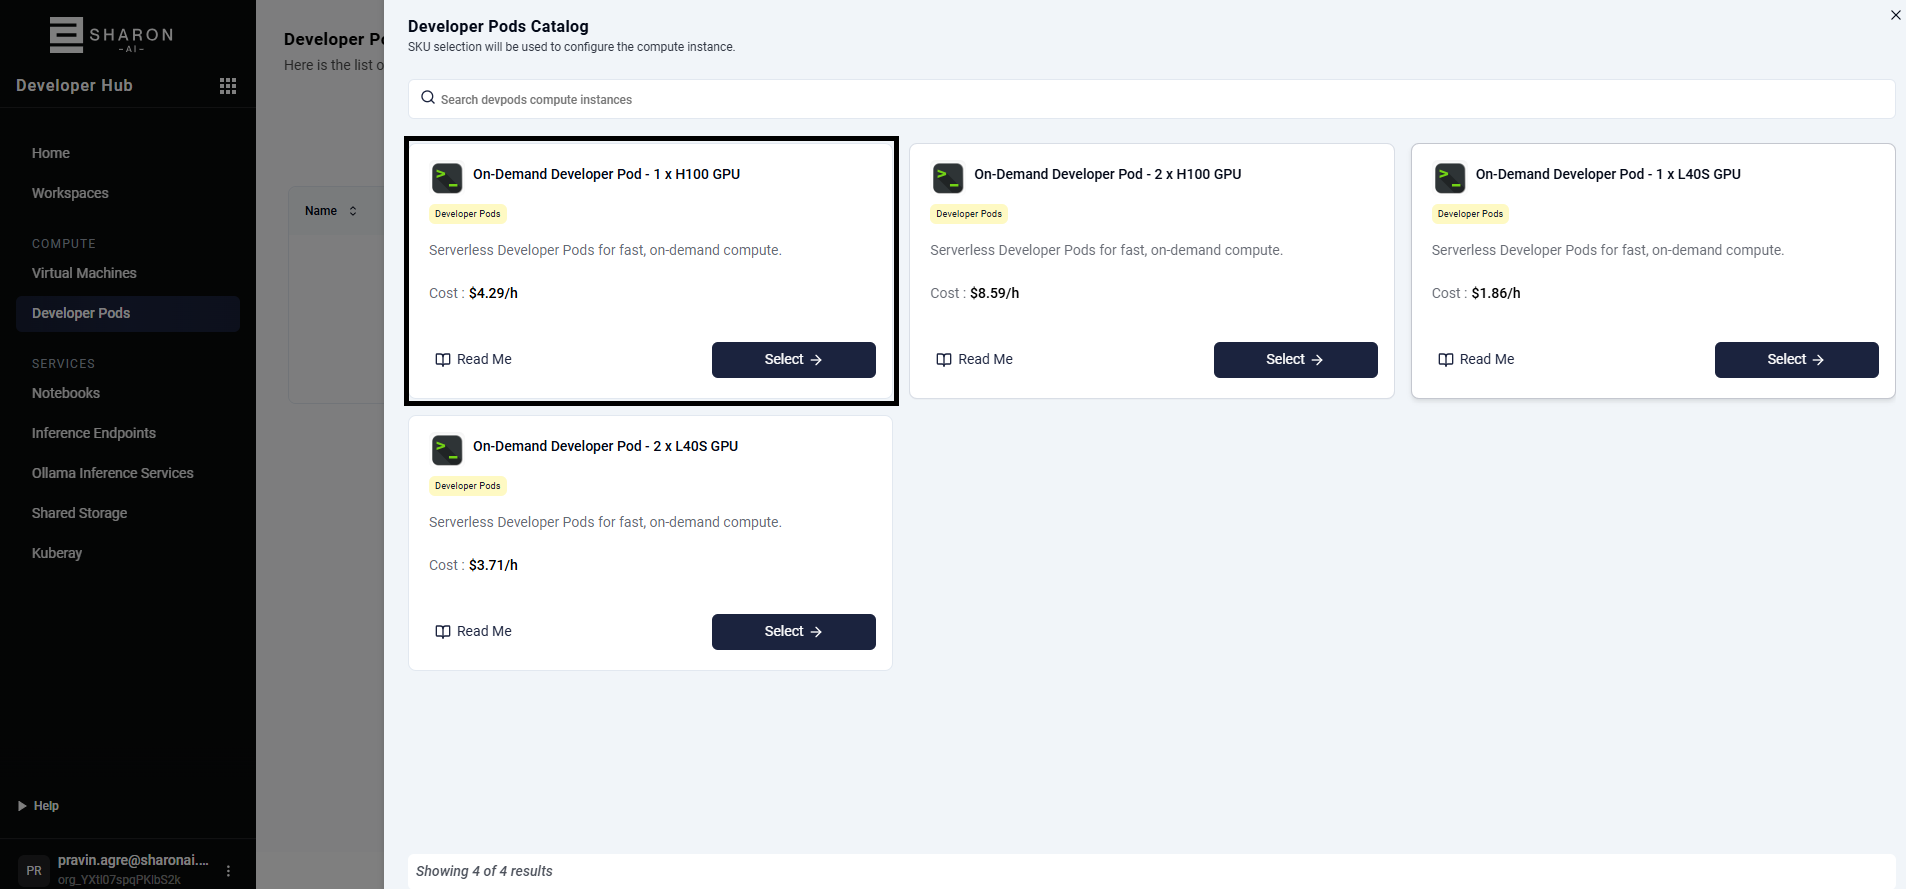
Step 4: Select a Pod SKU
The Developer Pods Catalog lists available on-demand pod profiles with their GPU type and hourly cost. Select Select → on the desired SKU to continue.
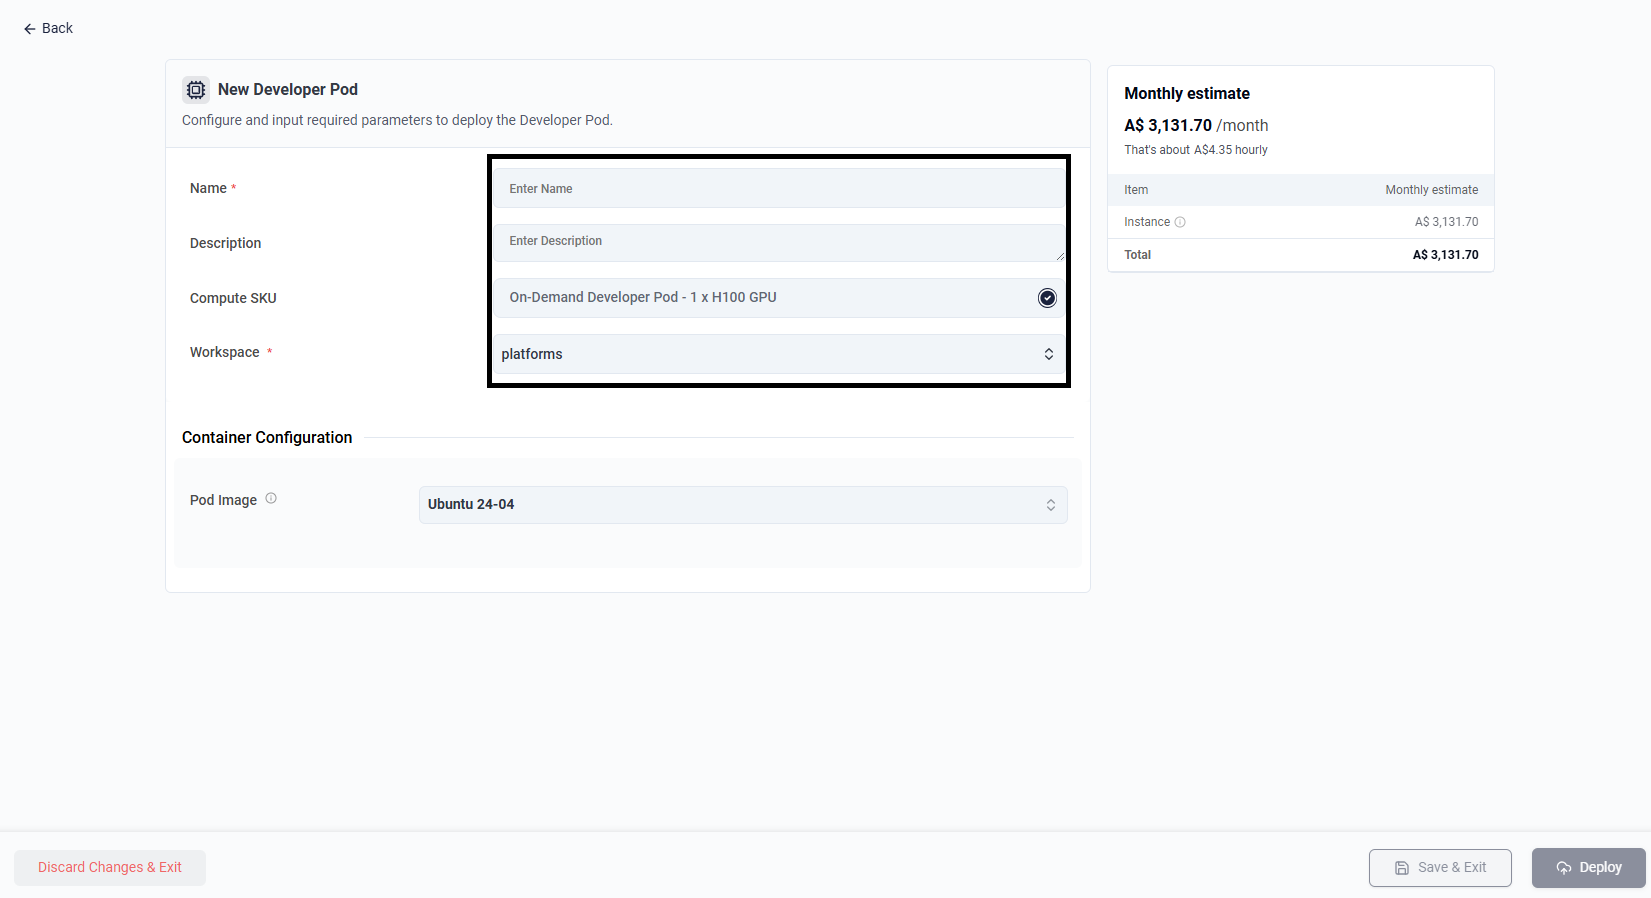
Step 5: Enter Pod Details
Complete the required fields on the New Developer Pod form:
- Name: Friendly name for the pod.
- Description: Optional description for the deployment.
- Compute SKU: Preselected from the catalog step.
- Workspace: Target workspace where the pod will be created.
The Container Configuration section appears below and requires selecting a Pod Image.
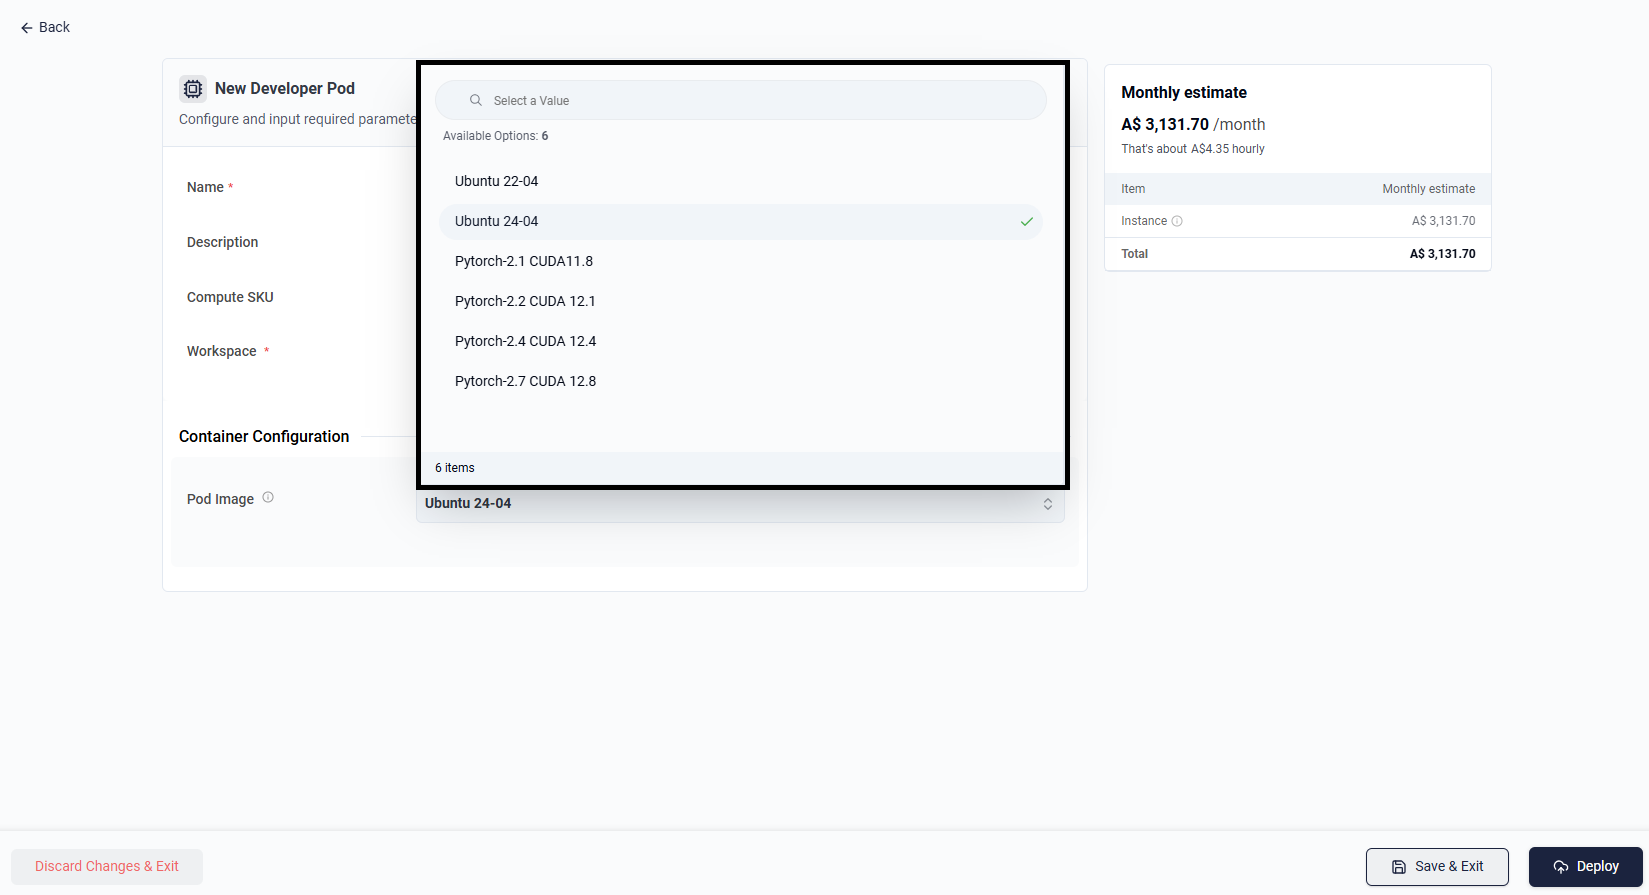
Step 6: Select a Container Image
Click the Pod Image dropdown to view all available container images. Options include Ubuntu base images and pre-built PyTorch images with specific CUDA versions.
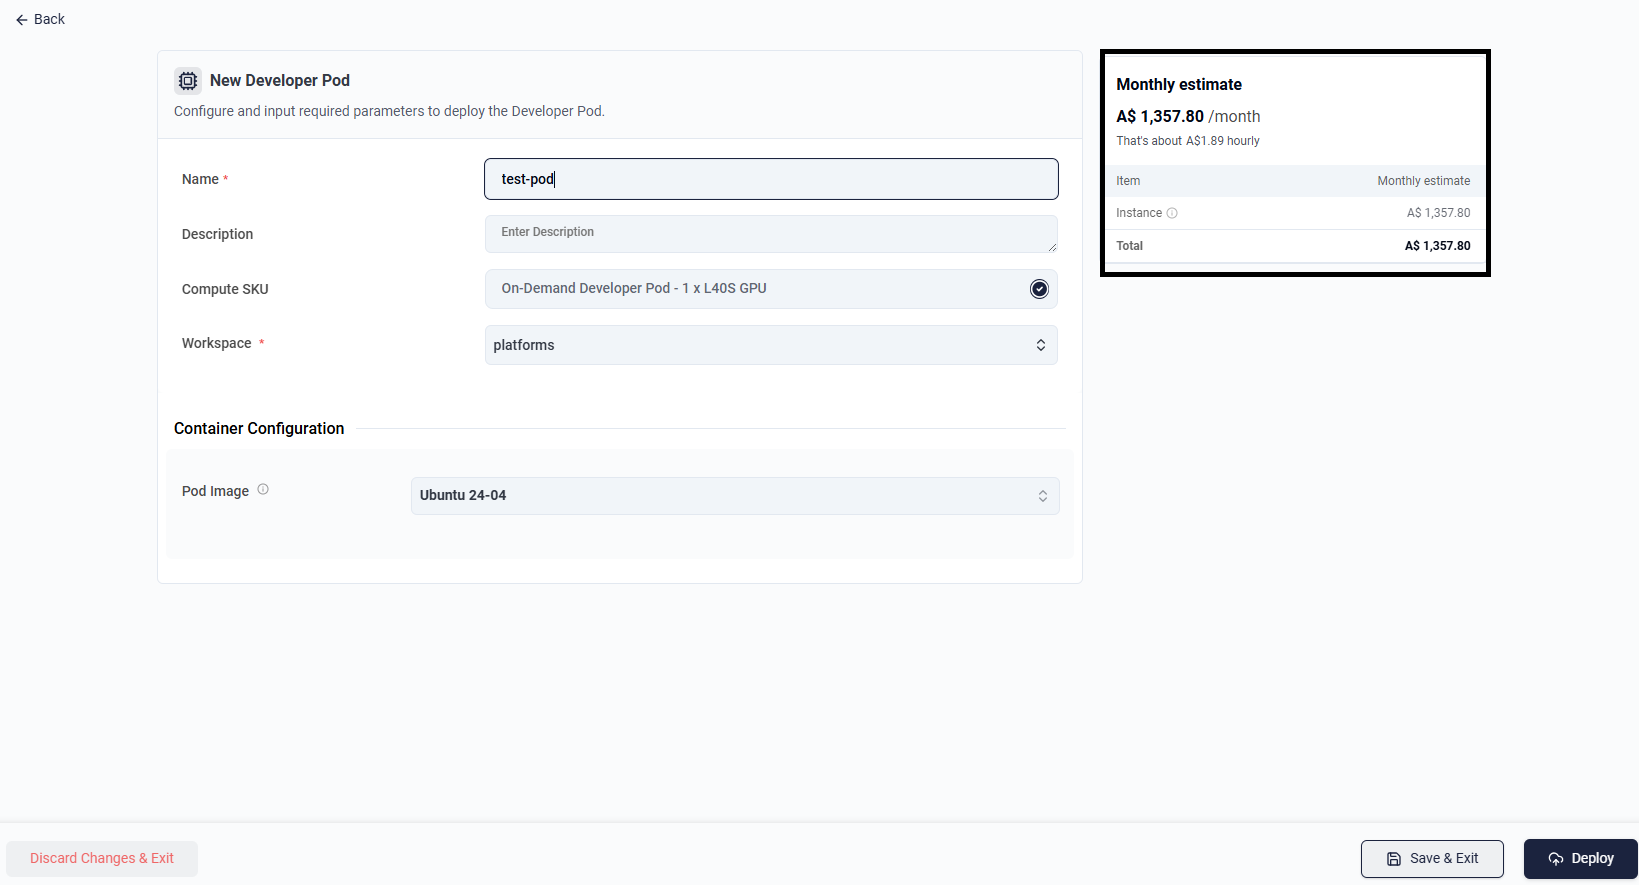
Step 7: Review Details and Deploy
Confirm all settings look correct. The Monthly estimate panel on the right shows the expected cost before deployment. When ready, select Deploy.
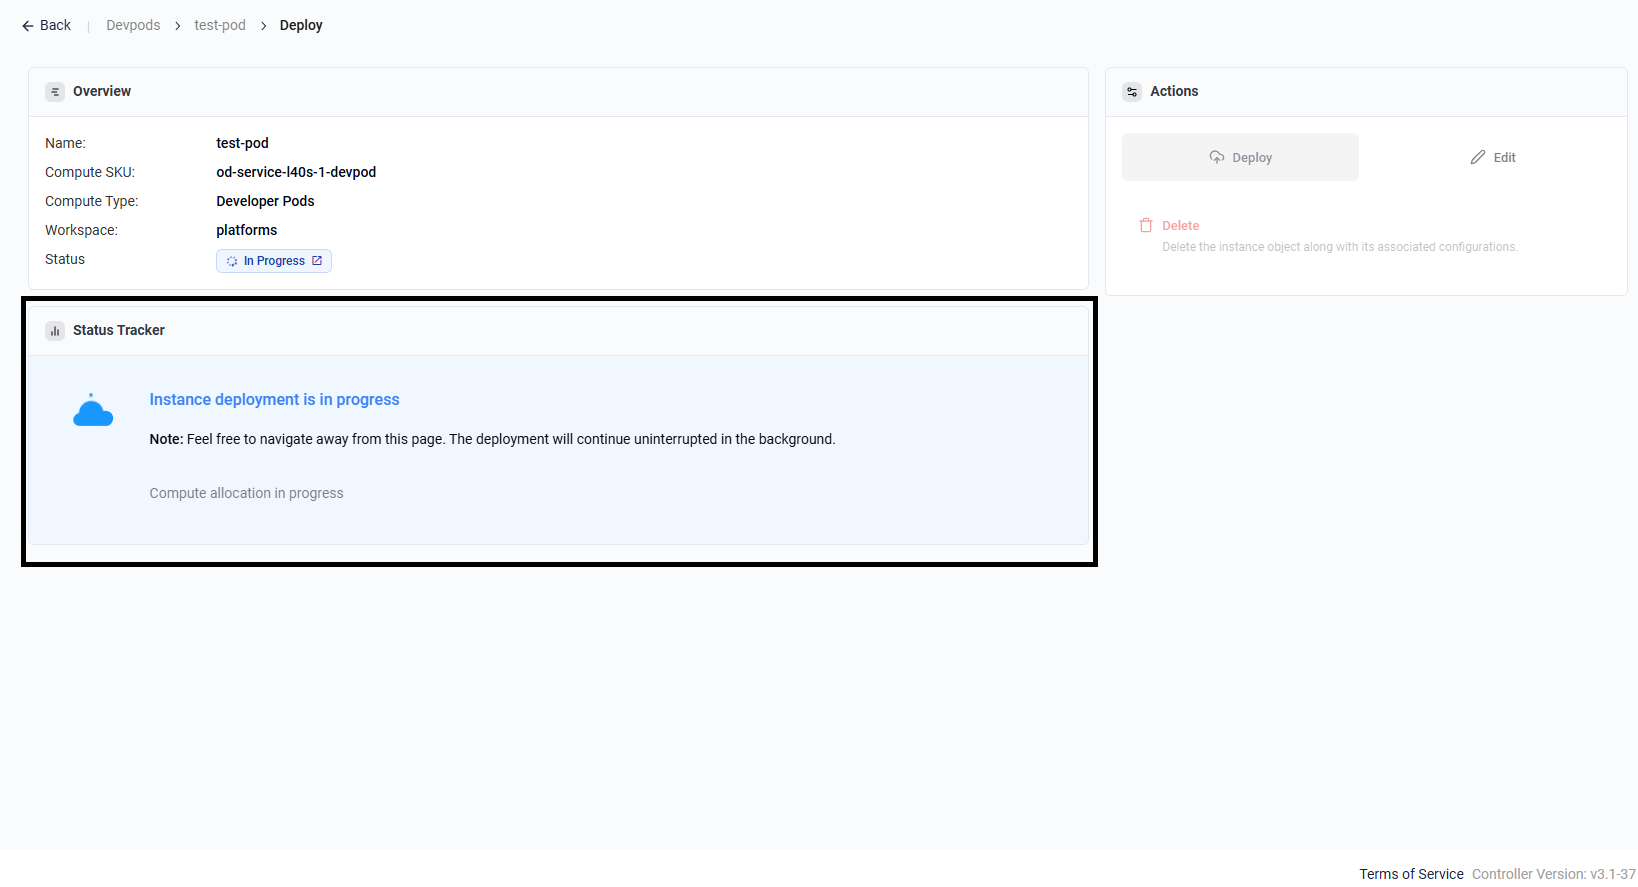
Step 8: Track Deployment Progress
After selecting Deploy, the platform navigates to the pod's deployment detail page. The status shows In Progress as compute resources are being allocated.
Note: You can navigate away from this page. The deployment continues in the background.

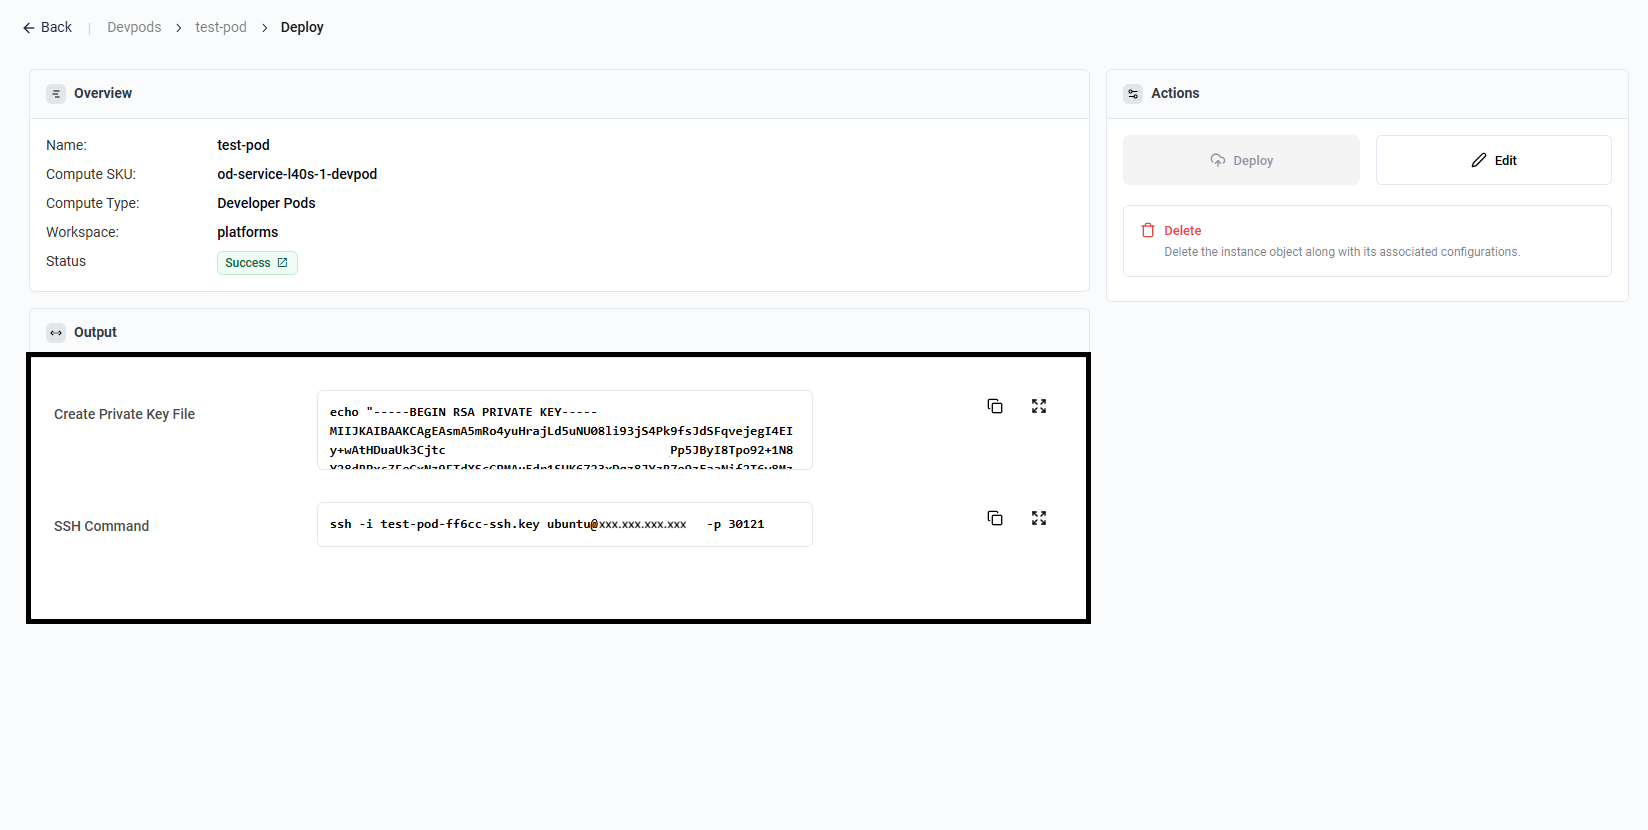
Step 9: Deployment Success — Review Output
When provisioning completes, the status changes to Success. Open the pod's detail page and scroll to the Output section to collect the connection information:
- Create Private Key File: Shell command to reconstruct the SSH private key locally.
- SSH Command: Ready-to-run SSH command including the key, username, public IP, and port.
Copy the SSH command and use it in a terminal to connect to the pod.
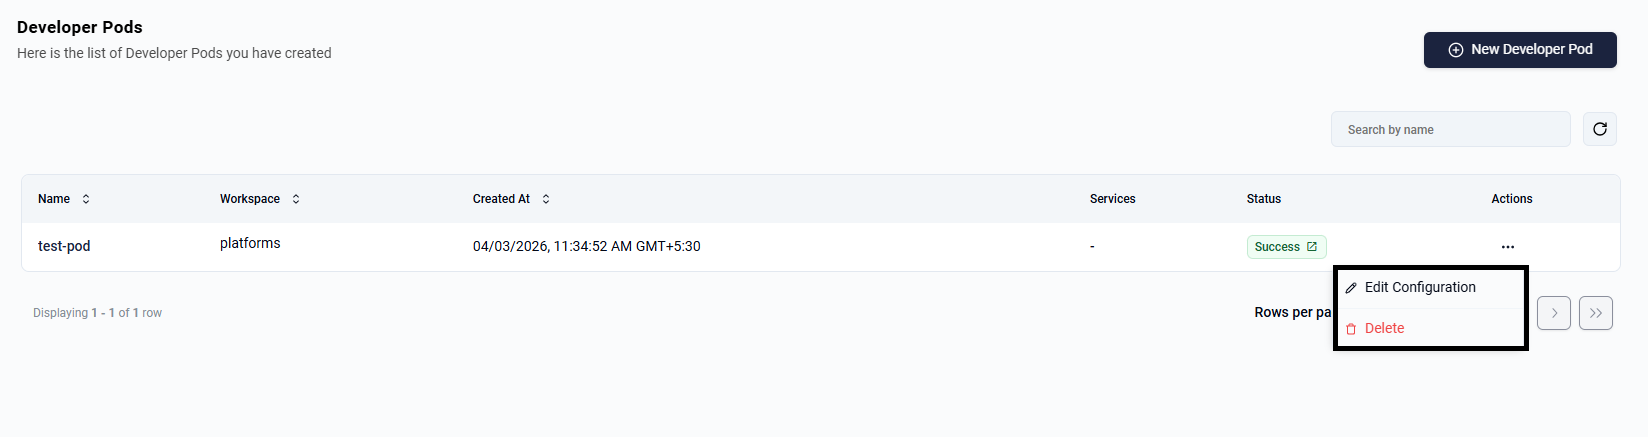
Step 10: Open Instance Actions and Select Delete
From the Developer Pods list, open the actions menu (...) for the instance and choose Delete.
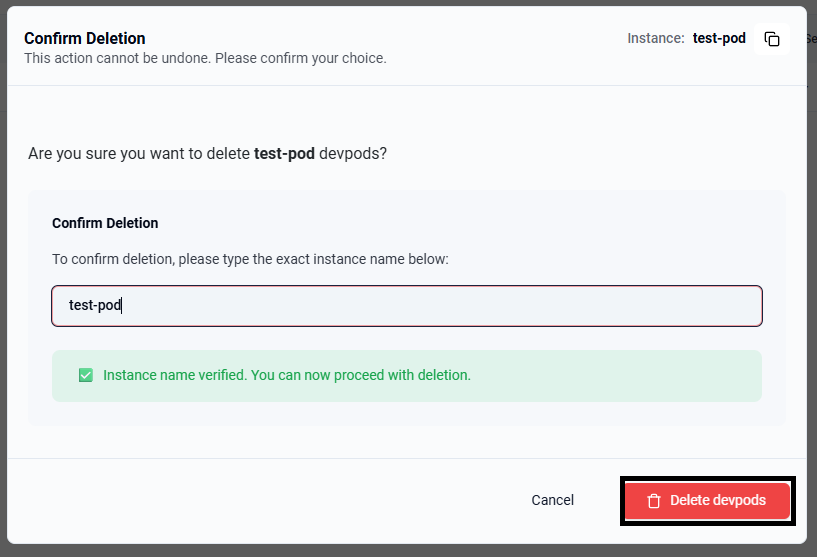
Step 11: Confirm Pod Deletion
Type the exact instance name in the confirmation dialog and select Delete devpods.
Step 12: Deletion in Progress
After confirmation, the pod status changes to Destroying while deletion is in progress. The pod will disappear from the list once teardown completes.
