Developer Pods
Developer Pods provide serverless, on-demand GPU compute for development, training, and inference workloads. You choose a pod from the catalog, configure it, deploy it, and access it over SSH.
Step 1: Open Developer Pods Catalog
Open the Developer Pods catalog to view available SKUs, GPU types, and hourly pricing.
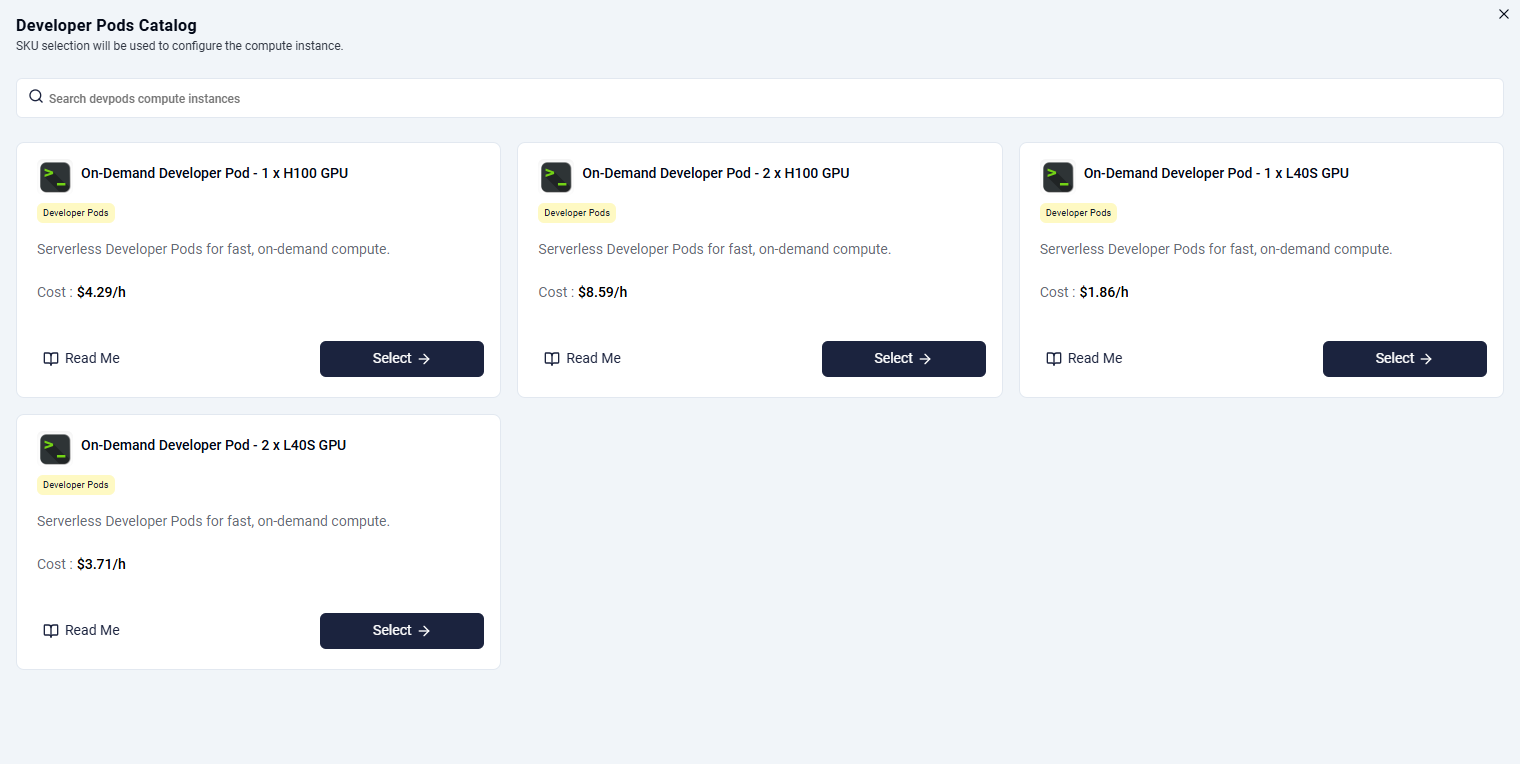
The catalog includes options such as:
- 1 x H100 GPU
- 2 x H100 GPU
- 1 x L40S GPU
- 2 x L40S GPU
Select the SKU that matches your workload profile.
Step 2: Configure Pod Basics
After selecting a catalog item, enter the pod configuration values:
- Name (required)
- Description (optional)
- Compute SKU (auto-selected from catalog)
- Workspace (required)

Step 3: Configure Compute and Runtime
Set the compute profile and image/runtime options for the pod.
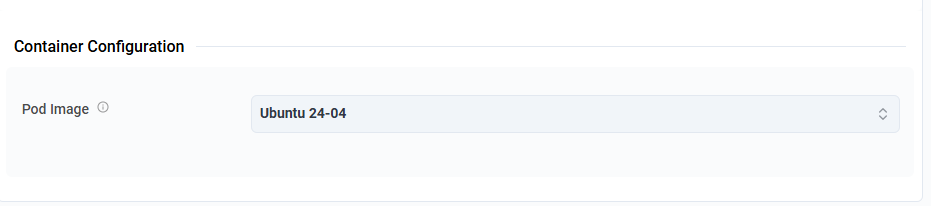
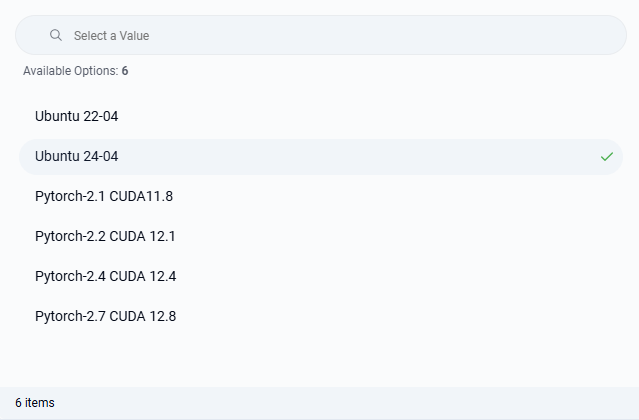
Choose the pod image from the available options (for example Ubuntu and PyTorch/CUDA variants).
Step 4: Review Cost Estimate
Before deployment, review the cost panel showing estimated monthly and hourly pricing for the selected configuration.
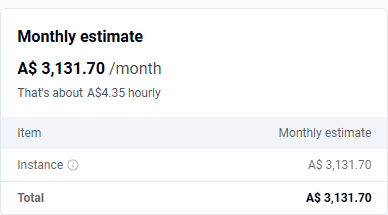
Info
Pods are billed hourly, and minimum usage can be a fraction of an hour.
Step 5: View Deployed Pods
After deploying, use the pods list to monitor status and manage instances across workspaces.

The list view provides:
- Pod name
- Workspace
- Created timestamp
- Status
- Actions menu
Step 6: Access Pod via SSH
Open a pod from the list to view its details and output section.
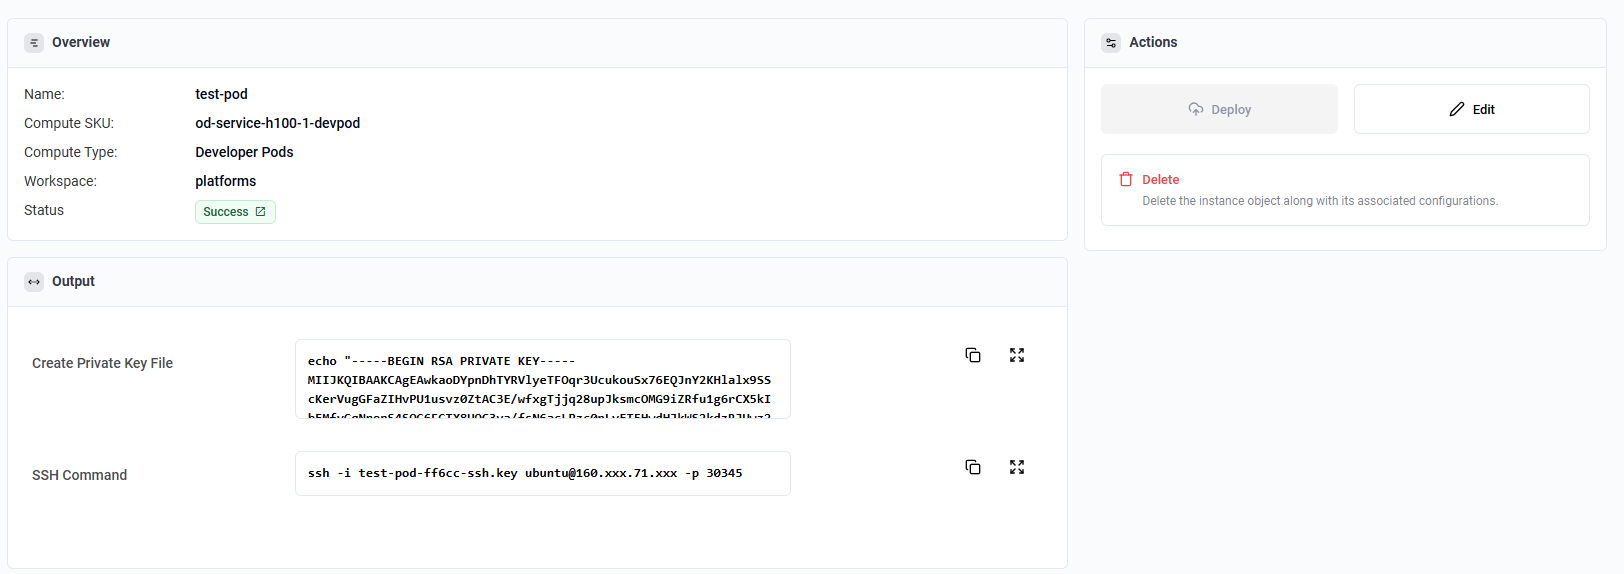
Use the provided commands in order:
- Create/download the private key file.
- Run the SSH command to connect to the pod.
Example format:
Step 7: Delete Pod
From the actions menu in the pods list, choose Delete to remove a pod.

Warning
Pod deletion is irreversible. Back up any required data before deleting.